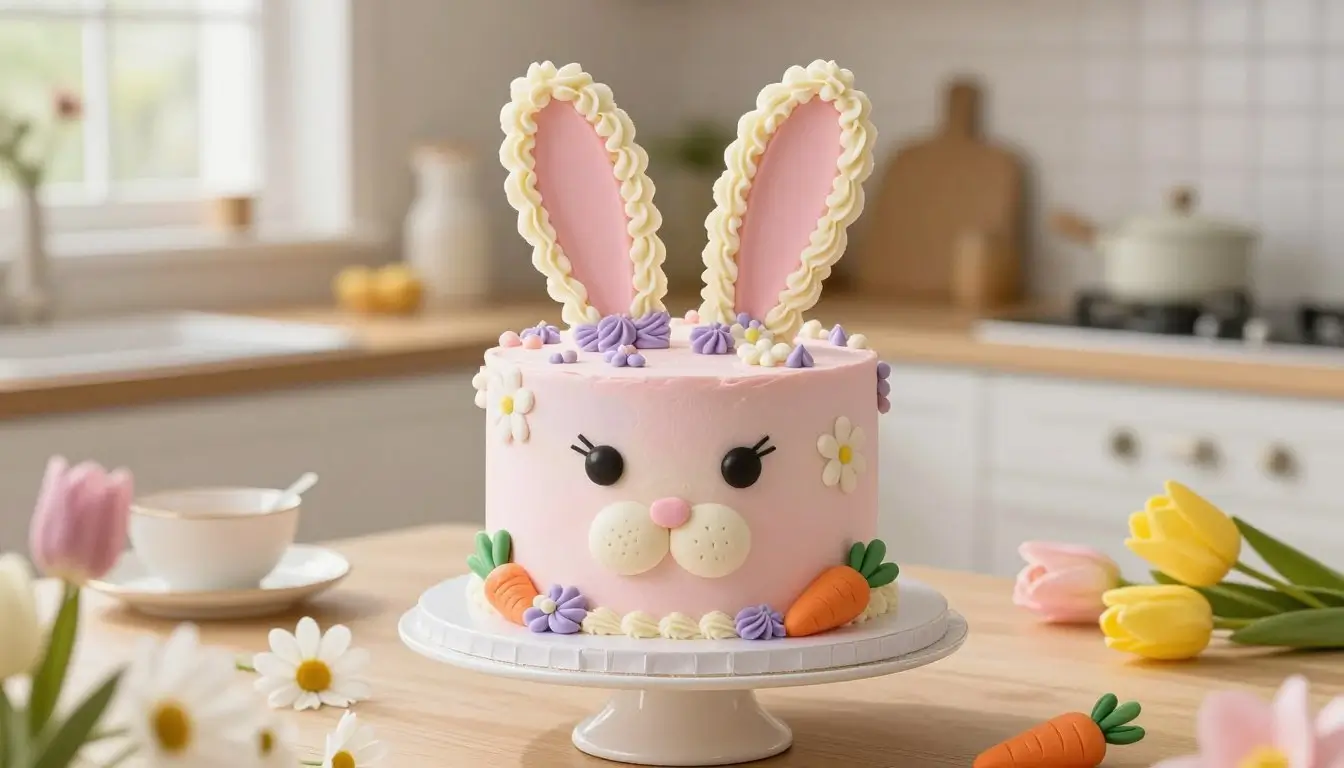
Easy Bunny Cake That Will Wow Everyone
Do you remember the joy of gathering around a table filled with treats during the holidays? There’s something truly magical about creating a centerpiece that brings your family together. A festive Bunny Cake is the perfect way to capture that nostalgic spirit while delighting your guests.
You might think this spring-themed cake requires professional skills, but it’s surprisingly simple to assemble. By using basic ingredients, you can turn a standard recipe into a stunning bunny themed dessert. It looks like a complex masterpiece but is actually easy to make. It’s one of those cute dessert ideas that makes your kitchen look like a professional bakery.
Whether you’re hosting a brunch or a family dinner, this easter cake serves as a beautiful focal point. Follow these easy steps to impress your loved ones with a creation that tastes as wonderful as it looks. Let’s get started on making your holiday celebration unforgettable.
Table of Contents
Essential Ingredients and Tools for Your Bunny Cake
Before you start baking your festive easter cake, make sure your kitchen is ready. Having the right tools makes the process fun and efficient. The key to a great result is proper preparation, which will wow your guests.
Selecting the Right Cake Base
A standard 15.25 oz box of cake mix is perfect for this recipe. It’s the right size for the layers of your Bunny Cake. Pick your favorite flavor, like vanilla or chocolate, to make it your own.
Must-Have Baking Equipment
To build your cake, you need specific tools. The right equipment helps make your cake layers even and easy to stack.
- Two round cake pans: These are key for the head and ears.
- Large baking sheet: It’s the base for putting it all together.
- Serrated knife: A sharp knife is needed for clean cuts.
Frosting and Decoration Supplies
Decorating a kids party cake means having plenty of supplies. Use at least two cans of frosting for full coverage and smooth edges. This way, you can frost the whole cake and have some left for details.
Pro tip: Keep extra candies or sprinkles for a personal touch. Whether it’s for a birthday or holiday, these add-ons make your easter cake a hit.
Preparing the Cake Layers for the Bunny Shape

Turning two round cakes into a cute bunny shaped cake is simpler than you think. With a few steps, you can make a special cake for any celebration.
Baking Two Perfect Round Cakes
Begin by baking two round cakes with your favorite recipe. Make sure to grease and flour the pans well. This helps the cakes come out without sticking.
After baking, check if the cakes are done by inserting a toothpick. If it comes out clean, you’re ready for the next step in making this fun cake design.
Cooling and Leveling Your Layers
Working with cakes requires patience. Let the cakes cool completely on a wire rack before cutting.
Don’t cut the cakes when they’re warm. They might crumble and mess up your design. Once cool, use a serrated knife to level the tops. This makes your Bunny Cake sit flat on the board.
The Strategic Cut: Transforming Rounds into Bunny Parts
Keep one cake whole for the bunny’s face. Cut the second cake into three parts: two ovals for the ears and a small piece for the bow tie.
Measuring for Symmetry
Before cutting, mark your lines with a ruler or parchment paper. Precision is key for a professional look on your diy bunny cake.
Score the top of the cake lightly with a knife. This helps guide your cut. It ensures your bunny ears are the same size and shape.
Cutting the Ears and Bow Tie
Split the second cake into two equal ovals for the ears. Use the middle part to make a small bow tie. This adds a fun touch to your Bunny Cake.
Be gentle when moving these pieces into place. A steady hand will help keep the edges clean for frosting.
Step-by-Step Assembly of Your Bunny Cake
Now that your cake layers are ready, it’s time to make your dream come true. Creating a bunny shaped cake needs patience and a clear plan. Make sure your workspace is set up well.
Positioning the Face and Ears
Put your cake pieces on a big baking sheet or a strong cake board. Arrange them to look like a bunny with a bow tie. Take your time to make sure the ears are even and the face is in the middle.
Securing the Cake to the Board
To keep your fun cake design from moving, use a little frosting on the bottom of each cake. This acts like glue, keeping everything in place. This trick is key for a great diy bunny cake.
Applying the Crumb Coat
Once everything is set, put a thin layer of frosting over the whole cake. This layer doesn’t need to be perfect. It just seals the cake and gets it ready for the final touch.
Why the Crumb Coat Matters
The crumb coat is a secret weapon for bakers. It keeps loose crumbs from getting into your final frosting layer. Without it, your bunny with cake might look messy.
Chilling for Stability
After the crumb coat, put your cake in the fridge for at least thirty minutes. This makes the frosting firm and keeps the cake stable. A cold cake is easier to decorate, making your design look sharp and professional.
| Assembly Step | Primary Goal | Estimated Time |
|---|---|---|
| Layout | Perfect Alignment | 5 Minutes |
| Securing | Structural Stability | 3 Minutes |
| Crumb Coat | Sealing Crumbs | 10 Minutes |
| Chilling | Firming Texture | 30 Minutes |
Creative Decorating Techniques for a Professional Look

Transforming your dessert into a bunny themed dessert masterpiece is easy. Focus on the details that make it stand out. A few simple tricks can add depth and charm, making it look professional.
Piping Fur Texture with Buttercream
To get a realistic fur look, use a piping bag with a star tip. Gently squeeze the bag while pulling away. This creates small, fluffy tufts of fur on the cake.
This method adds dimension to your dessert. By layering the stars, you hide the cake seams. This makes your creation look soft and cuddly.
Adding Facial Features
Personalizing the face is where you can really get creative. These cute dessert ideas bring your bunny to life with pantry staples.
Crafting Eyes and a Nose
Dark candies like chocolate chips or blueberries make great eyes. A pink jelly bean or small heart-shaped candy is perfect for the nose. They give your bunny a sweet, friendly look.
Using Candy for Whiskers
For whiskers, use thin black licorice or long chocolate sprinkles. Press them into the frosting on either side of the nose. This completes the bunny’s look.
Customizing Your Spring-Themed Cake
After the face is done, add seasonal touches to your spring-themed cake. These final details make your dessert look as fresh as spring itself.
Adding Edible Flowers
Place pansies or violas around the cake base for a pop of color. Make sure the flowers are food-grade and pesticide-free for a safe, beautiful finish.
Incorporating Coconut for Texture
Sprinkle shredded coconut over the frosting for a fuzzy texture. This adds a professional touch and a tasty flavor to your cute dessert ideas.
Conclusion
Baking a festive dessert creates lasting memories for your family. You now know how to make a stunning easter cake from simple pantry staples. This cake will be the centerpiece of your holiday spread.
This project shows that you can achieve professional results at home. Your hard work turns basic round layers into a charming bunny with cake. It will delight guests of all ages.
Make your creation unique with vibrant colors or special candy accents. Each detail you add makes your dessert a one-of-a-kind masterpiece.
Share your finished creation on social media to inspire others. Your journey to mastering this seasonal treat begins with the first slice of your homemade easter cake.
Enjoy serving your beautiful bunny with cake at your next gathering. Your guests will love the time and heart you put into this delightful holiday tradition.
Frequently Asked Questions
What is the best flavor of cake mix to use for an Easter cake?
While a classic white or yellow cake mix is traditional, you can use any flavor you like. For a spring-themed cake, carrot cake or lemon are great options that pair perfectly with cream cheese frosting.
How can I make my bunny themed dessert look even more realistic?
Use shredded coconut over the frosting to create a soft, fuzzy texture that looks like bunny fur. It also adds a light, sweet flavor to your cake.
Can I assemble this bunny shaped cake a day in advance?
Yes, you can bake and assemble the cake a day ahead. Store it in a cool place or in a large airtight container to keep it fresh and moist.
What if I don’t have a piping bag for my fun cake design?
If you don’t have a piping bag, use a resealable plastic bag. Cut a small corner and pipe the frosting. You can also create texture by swirling the frosting with a fork.
How many people will a standard bunny cake feed?
A bunny cake made from two 9-inch round cakes usually serves about 12 to 16 people, making it perfect for family gatherings or small parties.
My cake is crumbling while I cut it; what should I do?
This often happens when the cake is still warm. Chill the layers in the freezer for 20–30 minutes before cutting to make slicing easier and cleaner.
Easy Bunny Cake That Will Wow Everyone
Equipment
- Two 9-inch round cake pans
- Large baking sheet or cake board
- Serrated knife
- Mixing bowls
- Electric mixer (hand or stand)
- Spatula
- Optional: piping bag (or zip-top bag)
Ingredients
For the Cake Base
- 1 box cake mix vanilla, chocolate, lemon, or carrot
- Ingredients required by the mix eggs, oil, water
For Frosting & Decoration
- 2 cans frosting buttercream or cream cheese
- Shredded coconut optional, for “fur”
- Candy eyes or chocolate chips
- Jelly beans for nose
- Licorice strings or chocolate sprinkles for whiskers
- Food coloring optional, for details
Instructions
Step 1: Bake the Cakes
- Preheat oven according to cake mix instructions.
- Grease and flour two round cake pans.
- Prepare batter and divide evenly.
- Bake and let cakes cool completely.
Step 2: Shape the Bunny
- Keep one cake whole (this is the face).
- Cut the second cake into:
- 2 oval shapes → ears
- 1 small piece → bow tie
- Arrange pieces on a board to form a bunny shape.
Step 3: Secure the Pieces
- Use a small amount of frosting under each piece to hold it in place.
Step 4: Apply Crumb Coat
- Spread a thin layer of frosting over the entire cake.
- Chill for 30 minutes to set.
Step 5: Final Frosting
- Cover cake with remaining frosting.
- Use a spatula or piping bag to create texture (fur effect).
- Optional: sprinkle shredded coconut for a fluffy look.
Step 6: Decorate the Bunny
- Add candy eyes and a jelly bean nose.
- Place licorice or sprinkles as whiskers.
- Decorate with extra candies or pastel colors for a festive look.
Notes
Quick Tips for Best Results
- Chill cake before cutting → cleaner shapes
- Use coconut for a realistic “bunny fur” effect
- Don’t skip crumb coat → smoother final finish
- Assemble a day ahead → better stability